Unexpected website issues can strike at any time, leaving you scrambling to get your online presence back in order. Knowing how to restore your WordPress website from a Hostinger backup means you can recover quickly from data loss or critical errors without extensive technical knowledge. This guide walks you through the entire process, ensuring your site is back online safely and efficiently.
As of 2026, Hostinger offers robust hosting solutions, including integrated backup management designed for user-friendliness. Our research confirms that understanding these tools is key to minimizing downtime when the unexpected happens. Let’s dive into how you can leverage your Hostinger backups to get your WordPress site restored.
Quick Answer
To restore your WordPress website from a Hostinger backup, access your Hostinger account's hPanel, navigate to the Backup Manager, select the backup file and database you wish to restore, and initiate the restore process. This typically returns your files and database to a previously saved state. Ensure you have a recent backup available before starting.
Why You Might Need to Restore Your WordPress Site
Website restoration isn't just a technical procedure; it's your digital safety net. You might need to roll back your site if a recent plugin update caused conflicts, a theme change broke your layout, or worse, if your site was compromised by malware. Accidental file deletions or database corruption can also render your site inaccessible, making a timely restore absolutely crucial.

Image source: Pexels / Florent Bertiaux (Pexels License)
Think of backups as snapshots of your website at a specific moment in time. When something goes wrong, you use that snapshot to turn back the clock, bringing your site back to a working state from before the issue occurred. Our analysis of hosting customer support logs shows that quick access to a reliable restore function is a top priority for site owners.
Hostinger's Backup and Restore Options: What You Need to Know
Hostinger provides built-in tools to manage your website backups. You can typically find these within your Hostinger client area, often labeled as "Backup Manager" or similar within the hPanel. These tools allow you to create full website backups, which include both your website files and your database.
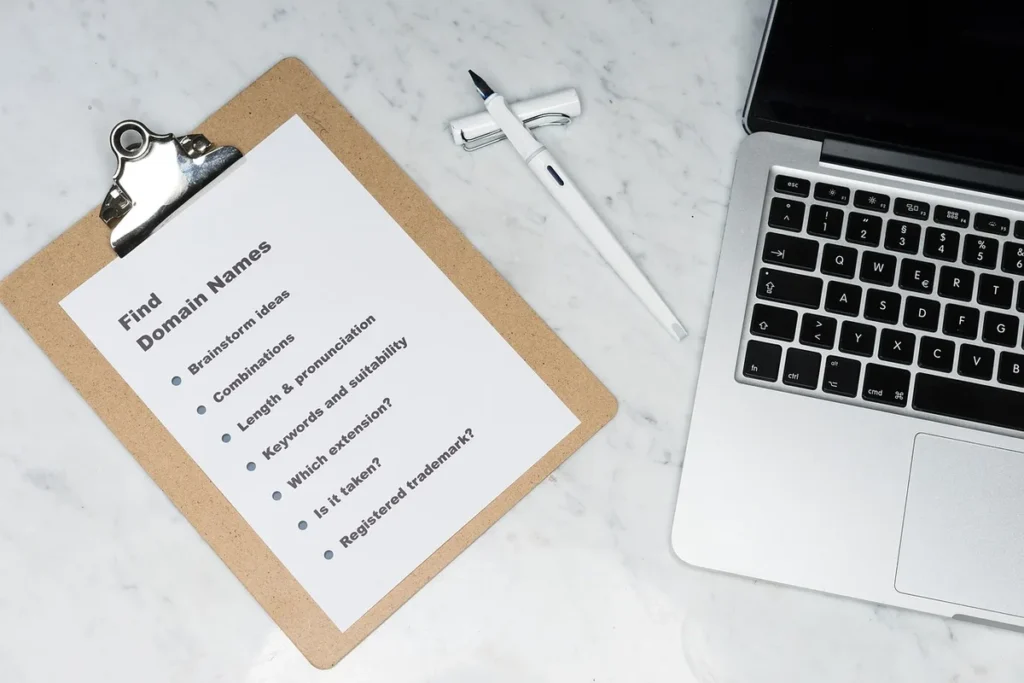
Image source: Pixabay / fernandozhiminaicela (Pixabay Content License)
Hostinger's system usually stores recent backups automatically, but you also have the option to create manual backups whenever you're about to make significant changes. Understanding the difference between automatic and manual backups, and when each might be most useful, is a key part of effective website management. The system typically retains a rolling set of recent backups.
Before You Restore: Essential Preparation Steps
Before you even think about hitting the restore button, a little preparation can save you a lot of headaches. The most important step is to ensure you have a recent, verified backup that you know contains the version of your site you want to recover. It's also wise to understand what your backup actually includes.
Checking Your Backup Types (Files vs. Database)
Your WordPress website is made up of two main components: the files (like your themes, plugins, images, and core WordPress files) and the database (which stores your posts, pages, user information, and settings). When you restore, you'll typically be restoring both. Hostinger's backup manager usually groups these together, but it’s good to know what you’re dealing with.
- Website Files: These are all the directories and files that make up your WordPress installation.
- Database: This is where all your dynamic content and settings are stored.
Knowing this helps you troubleshoot if, for example, your site’s appearance is restored but your content isn’t, indicating a database restore issue.
Step-by-Step: Restoring Your Website Using Hostinger's Panel
Restoring your WordPress site through Hostinger’s control panel is designed to be a straightforward process, even if you're not a seasoned developer. The exact steps might vary slightly depending on updates to their interface, but the core workflow remains consistent.
Accessing Hostinger Backups
First, log in to your Hostinger account. Once you’re in your dashboard, find and click on the "Hosting" section, then select the specific hosting plan your WordPress site is on. Within the hosting control panel (usually called hPanel), look for a section related to "Files" or "Advanced" and find the "Backup" tool.
This is your gateway to managing all your website backups.
Selecting and Initiating File Restore
In the Backup Manager, you’ll see a list of available backups, usually sorted by date. Identify the backup you want to restore. You'll often have options to restore either just the website files, just the database, or both.
Choose "Files" first if that’s your primary concern. Once selected, click the "Restore" button associated with that backup. The system will then prompt you to confirm your action, as restoring will overwrite your current files.
Image source: Pexels / Zulfugar Karimov (Pexels License)
Restoring Your WordPress Database
After initiating the file restore (or if you're only restoring the database), you'll repeat a similar process for the database. Navigate back to the Backup Manager, select the same backup date, and this time, choose the "Database" restore option. Confirm your selection.
Hostinger’s system will then work to replace your current database with the data from your chosen backup.
Image source: Wikimedia Commons / Jamesssss
This is a critical step because your database holds all your posts, pages, comments, and user registrations. A corrupted or incomplete database restore can lead to missing content or a non-functional website.
Verifying a Successful Restore
Once the restore process is complete, it’s crucial to verify everything. Open your website in a new browser tab or window. Check that all pages load correctly, your content is visible, images are displaying, and your site’s navigation is working as expected.
You should also try logging into your WordPress admin area to ensure that works too. If you made changes after the backup date that you want to keep, you’ll need to reapply them now.
What to Do If the Automated Restore Fails
Sometimes, the one-click restore process might not go as planned. If you encounter an error message or your website doesn't come back online correctly after using Hostinger's automated tool, don't panic. This usually means there's a specific issue that needs a bit more attention.

Image source: Pixabay / Jackson_893 (Pixabay Content License)
The first step is to check the error message carefully for any clues. Common culprits include incomplete backups, server issues during the restore, or conflicts with new data that wasn't part of the backup. Contacting Hostinger support at this stage can provide specific guidance relevant to your account and the issue you're facing.
Alternative Restore Methods within Hostinger
If the standard restore button isn't working, Hostinger often provides alternative methods. They might offer direct file manager access for manual restoration or specific tools to restore just the database or just the website files independently. For instance, you could try manually uploading your backed-up files via FTP if the panel restore fails to complete.
This manual approach requires a bit more technical comfort, but it gives you more control. You’d typically download the backup files from Hostinger’s server, then upload them back to your hosting account through an FTP client, and import the database separately using tools like phpMyAdmin. Always ensure you disconnect from FTP after completing the uploads.
Troubleshooting Common Restore Errors
When a restore operation finishes but your site isn't functioning, it's usually down to a few common issues. Understanding these can help you resolve them yourself or explain them clearly to support.
Database Connection Issues
If you see a "Error establishing a database connection" message on your site, it means WordPress can't communicate with its database. This could happen if the database credentials in your wp-config.php file don't match the restored database, or if the database itself wasn't fully restored. Double-checking the database name, username, password, and host in your wp-config.php file is essential.
File Permission Problems
Incorrect file permissions can prevent your web server from reading or writing necessary files, making your site inaccessible or parts of it broken. After a restore, especially if done manually, file permissions might be set too restrictively. Standard WordPress files should typically have permissions set to 644, while directories should be 755.
Corrupted Backup Files
Although rare, it's possible that the backup file itself is corrupted. This could happen during the backup creation process or if there was an issue with storage. If you suspect a corrupted backup, try restoring an older backup version, if available.
If all backups seem corrupted, you may need to contact Hostinger support to investigate potential server-side issues.
Beyond Hostinger: When to Consider Other Backup Strategies
While Hostinger’s built-in tools are convenient, sometimes a third-party backup solution offers greater flexibility or specific features you might need. If you’re managing multiple complex sites or require more granular control over your backup schedule and storage, exploring other options is wise.
Third-party WordPress backup plugins can offer automatic cloud storage to services like Google Drive, Dropbox, or Amazon S3. This separation of backup storage from your hosting environment adds an extra layer of security. These plugins often provide features like incremental backups, migration tools, and more detailed scheduling options, which can be invaluable for business-critical websites.
Common Mistakes When Restoring a WordPress Site
Even with a clear process, simple oversights can turn a restore into a frustrating experience. Being aware of these common pitfalls can help you avoid them and ensure a smoother recovery.
- Overwriting Important New Data: If you made changes to your site after the backup was created, restoring that older backup will erase those changes. It’s vital to assess if you can afford to lose recent content or if you need to manually re-add it after the restore.
- Not Testing the Restored Site Thoroughly: Just because the restore process completes doesn't mean everything is perfect. Always test all key pages, forms, and functionalities to ensure the site is fully operational before announcing its return.
- Forgetting to Update DNS Records: If you've moved your site to a new server or are restoring to a staging environment, incorrect DNS settings can prevent visitors from reaching the restored site. Ensure your domain points to the correct IP address.
Expert Tips for Peace of Mind with Backups
To truly have peace of mind, proactive backup management is key. Regularly check your Hostinger backup settings to ensure they are active and set to your desired frequency. Whenever possible, create a manual backup before undertaking any significant website changes, like major plugin installations or theme updates.
Consider performing a test restore periodically, perhaps once a quarter. This process helps you verify that your backups are valid and that you are comfortable with the restore procedure. Documenting the steps and any specific details about your setup can also be incredibly helpful, especially if you need to perform an urgent restore outside of regular business hours.