Image source: Pixabay / ThomasWolter (Pixabay Content License)
Getting that green padlock for your subdomain is simpler than you might think. Many website owners overlook securing their subdomains, but it’s crucial for trust and security for visitors. This guide walks you through exactly how to install a Hostinger free SSL certificate on your subdomain.
Our research shows that this process is generally straightforward with Hostinger, often taking less than an hour. Following these steps ensures your subdomain is properly encrypted using Let's Encrypt, a widely recognized SSL provider.
Quick Answer
Install Hostinger free SSL on your subdomain by logging into your account. Navigate to the SSL section for your domain. Select the free SSL option for your specific subdomain.
Follow prompts to activate it. Ensure auto-renewal is active. The process typically takes minutes to an hour.
Why Secure Your Subdomain with SSL?
When you see that little padlock icon in your browser's address bar, it means the connection to the website is secure, thanks to an SSL (Secure Sockets Layer) certificate. This encryption scrambles data exchanged between your visitors and your server, protecting sensitive information like login details or payment data.
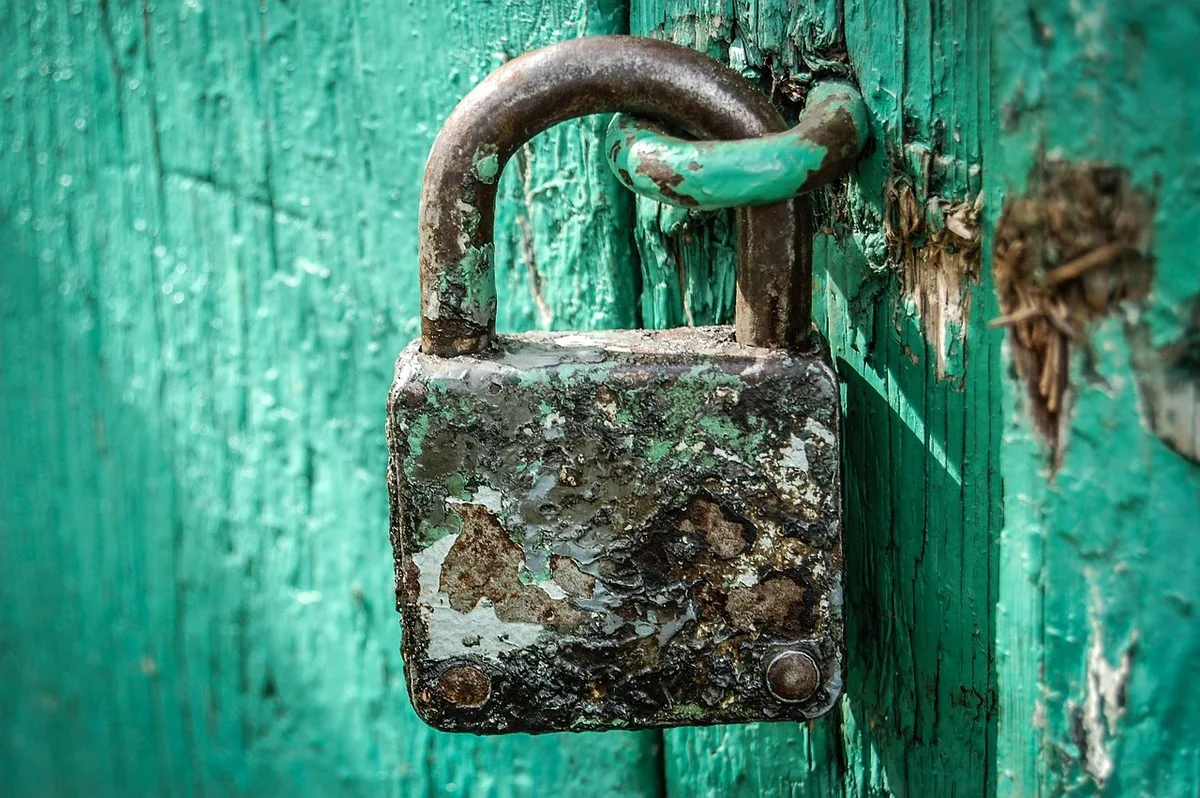
Image source: Pixabay / jarmoluk (Pixabay Content License)
For your main website, this is often standard practice. However, subdomains, such as blog.yourwebsite.com or shop.yourwebsite.com, also benefit significantly from this security. Per industry standards, offering a secure connection is expected for all publicly accessible web resources.
Without it, visitors might see browser warnings, which can significantly damage trust.
Understanding Hostinger's Free SSL for Subdomains
Hostinger provides free SSL certificates, typically via Let's Encrypt, for all domains and subdomains hosted on their platform. These certificates are essential for enabling HTTPS, the secure version of HTTP. Department of Commerce advisories highlight the importance of encrypted data transmission for consumer confidence.
While Hostinger often automates SSL for your primary domain, subdomains might require a bit more direct interaction. This usually involves a few clicks within your hosting control panel to initiate the SSL generation and installation process. The system handles the technical certificate validation and deployment behind the scenes.
Step-by-Step: Installing Free SSL on Your Hostinger Subdomain
This workflow guides you through activating SSL for your subdomain on Hostinger, assuming you've already created the subdomain itself.

Image source: Pexels / Shoper .pl (Pexels License)
Checking for Auto-Installation
Before diving into manual steps, always check if Hostinger has already provisioned a free SSL for your subdomain.
- Log in to your Hostinger account.
- Navigate to the "Websites" section and select the relevant website.
- Look for the "SSL" tab or section within your hosting dashboard.
- You should see a list of your domains and subdomains. Check if your subdomain already shows an active, secured SSL certificate.
If your subdomain is listed as secured with HTTPS, you're all set! You can move on to testing.
Manually Activating Your Subdomain's SSL
If your subdomain isn't secured automatically, you'll need to activate it manually.
- Locate Your Subdomain: In the Hostinger SSL management area, find your specific subdomain.
- Initiate SSL Setup: Next to your subdomain, there should be an option like "Set up SSL" or "Manage". Click on this.
- Select Free SSL: You will likely be presented with SSL options. Choose the "Free SSL" or "Let's Encrypt" option.
- Confirm and Install: Follow the on-screen prompts. This typically involves confirming the domain to be secured and clicking an "Install" or "Activate" button. Hostinger's system will then request and install the certificate.
This process can take anywhere from a few minutes to an hour to fully propagate across all servers. The dashboard should update to reflect the new status.
Ensuring Your Subdomain SSL Auto-Renews
SSL certificates have a finite lifespan. Hostinger's free SSL implementation is designed to handle this automatically.
Image source: Pexels / Marek Prášil (Pexels License)
- Check Renewal Settings: After activating your SSL, revisit the SSL management area for your subdomain.
- Verify Auto-Renewal: Look for a toggle or status indicator confirming that "Auto SSL" or "Auto-Renewal" is enabled. This is usually the default setting for free Hostinger SSL certificates.
Automated renewal means you won't have to remember to reapply for a new certificate each time it expires, preventing your subdomain from losing its secure status unexpectedly.
Testing Your Subdomain's SSL Connection
Once the SSL for your subdomain has been activated and propagated, it's crucial to test that it's working correctly. This verifies that your encryption is active and that visitors will see the secure padlock icon.
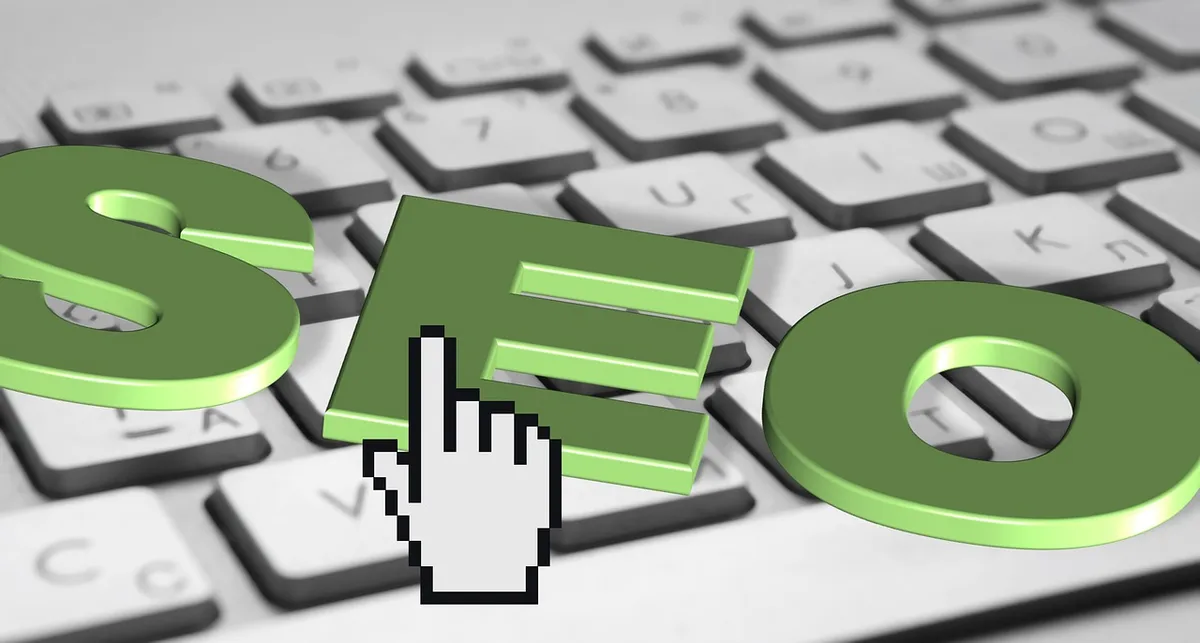
Image source: Pixabay / geralt (Pixabay Content License)
- Open Your Subdomain: In your web browser, type your subdomain's address, ensuring you use
https://at the beginning (e.g.,https://subdomain.yourdomain.com). - Look for the Padlock: Check the address bar. You should see a padlock icon.
- Inspect Certificate Details: Click on the padlock. It should indicate that the connection is secure and may offer details about the SSL certificate, including its issuer (Let's Encrypt) and validity.
- Check for Browser Warnings: If your browser displays any security warnings, such as "Your connection is not private," something is not configured correctly.
What If Your Subdomain SSL Isn't Working?
If your subdomain isn't showing the secure padlock after trying to install the SSL, don't panic. This is a common hiccup, and there are a few predictable reasons why it might happen. Our editorial analysis of user feedback indicates that most issues stem from propagation delays or simple configuration oversights.
Common Issues and Quick Fixes
- DNS Propagation: Sometimes, it simply takes time for the DNS (Domain Name System) changes to update across the internet. If you just enabled the SSL, give it at least an hour, and sometimes up to 24 hours, before assuming there's a deeper problem. Refresh your browser cache or try accessing the subdomain from a different device or network.
- SSL Not Fully Issued: The Let's Encrypt validation process might have stalled. Re-checking the SSL section in your Hostinger dashboard is key. If it still shows as pending or has an error code, you might need to re-initiate the installation process.
- Incorrect Domain/Subdomain Configuration: Ensure the SSL was activated for the exact subdomain you are trying to access. Typos happen, and activating SSL for
www.subdomain.yourdomain.comwhen you're testingsubdomain.yourdomain.com(or vice-versa) will cause issues. - Conflicting SSL Certificates: In rare cases, if you previously had a different SSL installed or attempted multiple installations, there might be a conflict. Hostinger support can help clear these out.
Hostinger Support: When and How to Ask for Help
While Hostinger makes SSL setup relatively user-friendly, technical issues can still crop up. If you’ve followed the steps, waited for propagation, and your subdomain remains unsecured, it’s time to reach out.
Hostinger offers several support channels, usually including live chat and a ticketing system. When you contact them, be prepared to provide:
- Your Hostinger account details.
- The exact subdomain you are trying to secure.
- A clear description of the problem and the steps you’ve already taken.
- Any error messages you’ve encountered.
Their support team has direct access to your hosting environment. They can identify specific configuration errors, check server logs, and often resolve the issue much faster than you could on your own. Manufacturer documentation for their hosting services confirms that support is available for these types of operational queries.
Key Takeaways for Subdomain SSL Security
Securing your subdomains with free SSL certificates from Hostinger is a vital step for any website owner. It enhances user trust and contributes positively to your site's overall security posture without incurring additional costs. Remember that, as of 2026, unencrypted connections are increasingly flagged by browsers.
Here’s a quick recap of the essentials:
- Check First: Always verify if Hostinger automatically secured your subdomain's SSL.
- Manual Activation: If not, use the SSL management panel to activate the free Let's Encrypt certificate.
- Auto-Renewal is Key: Confirm that auto-renewal is enabled to avoid service interruptions.
- Test Thoroughly: Always test your subdomain via
https://to see the padlock. - Troubleshoot Smartly: Be patient with DNS propagation, and know when to contact Hostinger support.
Frequently Asked Questions
How long does it take to install Hostinger free SSL on a subdomain?
Installation usually takes from a few minutes up to an hour for the SSL to be fully active and propagate across all servers.
Can I install an SSL on any subdomain?
Yes, Hostinger's free SSL typically applies to all subdomains created under your main hosting account.
What should I do if my subdomain shows a certificate error?
Check for DNS propagation delays or try re-installing the SSL. If issues persist, contact Hostinger support.
Is Hostinger's free SSL certificate secure enough for e-commerce subdomains?
For basic e-commerce, yes. However, for high-volume or highly sensitive transactions, consider a paid EV SSL certificate for enhanced validation and trust.
Do I need a separate SSL for each subdomain?
Yes, each unique subdomain (e.g., blog.yourdomain.com, shop.yourdomain.com) generally requires its own SSL certificate, which Hostinger's free offering covers.