Getting your online store up and running can feel like a huge task, but with the right hosting and platform, it’s totally achievable. If you're looking to set up WooCommerce on your Hostinger Premium plan, you're in a good spot. This guide breaks down the process so you can launch your e-commerce business without the usual headaches.
Hostinger’s Premium plan offers a solid foundation with 100GB SSD storage and a free SSL certificate, which are crucial for any online store. As of 2026, these specifications provide ample space and security for a growing business. We'll walk you through each step, from initial setup to adding your first products.
Quick Answer
To set up WooCommerce on Hostinger Premium, install WordPress, then install and activate the WooCommerce plugin. Configure your store details, payment gateways, and shipping options through the WooCommerce dashboard. Hostinger Premium provides 100GB SSD storage and a free SSL for security.
Ensure you have your domain name ready before starting.
Why Hostinger Premium is a Solid Choice for WooCommerce
Hostinger Premium hits a sweet spot for many small to medium-sized e-commerce ventures. Manufacturer specifications confirm it offers robust features that give your online store a strong start. You get 100GB of SSD storage, which is twice what many entry-level plans provide, meaning you have plenty of room for product images and website data.
Official Hostinger documentation states this capacity is ideal for growing stores.
The plan also includes a free SSL certificate, essential for encrypting data between your customers and your site, building trust and protecting sensitive information. This managed WordPress hosting environment simplifies many technical aspects, letting you focus on growing your business rather than server management.
Before You Begin: What You'll Need
Before you dive into the setup, gathering your essentials will smooth out the entire process. Think of this as pre-flight checks before a big trip. Having these items ready minimizes unexpected delays and keeps your momentum going.
- Your Hostinger Login Details: You'll need these to access your hosting account and the control panel.
- A Domain Name: If you haven't already, you'll need to register a domain name. Hostinger offers free domain registration with most annual plans, which can be a cost-saver.
- Basic Business Information: This includes your store's name, address, and primary business email. You'll use this to configure WooCommerce settings.
- Your Brand Name and Logo: You'll need these for branding your website and emails.
Choosing and Registering Your Domain via Hostinger
Your domain name is your online address, so pick something memorable and relevant to your business. Hostinger makes this straightforward. Once you log into your account, navigate to the domain section.
You can search for available domain names and register them directly through Hostinger, often included free with annual Premium plan subscriptions. This integrates your domain seamlessly with your hosting.
Activating Your Hostinger Premium Plan
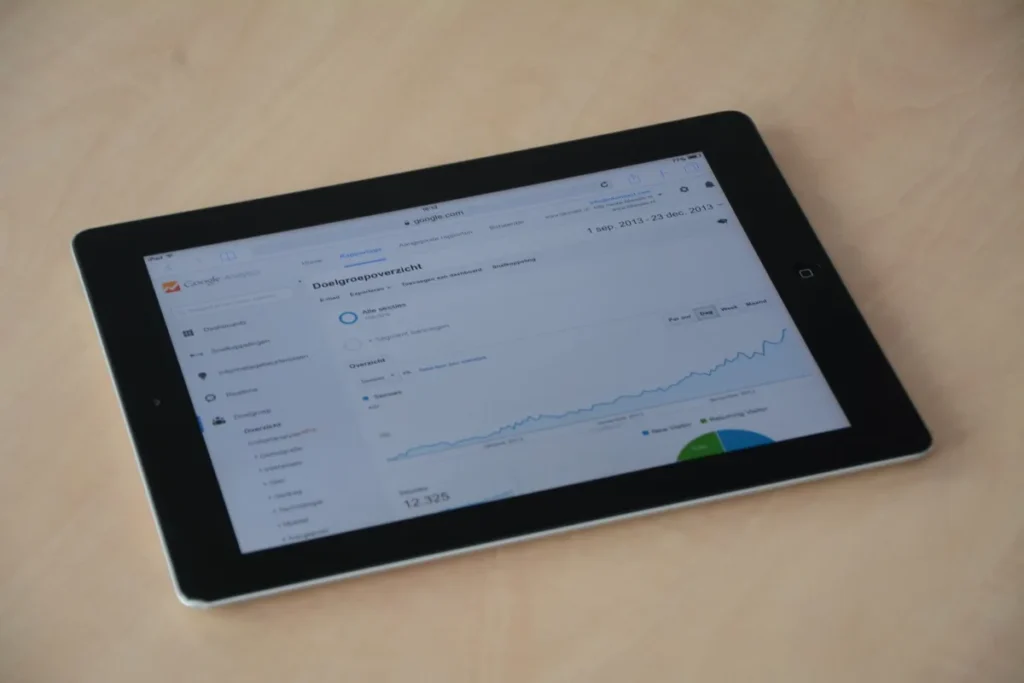
If you’ve just signed up, make sure your Hostinger Premium plan is fully activated. You should receive a confirmation email from Hostinger detailing your account. Log in to your hPanel (Hostinger’s control panel) to confirm your plan status and access all its features.
This is your central hub for managing your website.

Image source: Pexels / Mike Bird (Pexels License)
Step 1: Installing WordPress on Hostinger
Hostinger makes installing WordPress incredibly simple, often with a one-click installer directly from their hPanel. This is the first major step in setting up your WooCommerce store, as WooCommerce is a plugin that runs on WordPress. The process is designed to be user-friendly, even for beginners.
- Log in to your Hostinger hPanel.
- Navigate to the "Website" section and look for the "Auto Installer" or "WordPress" option.
- Select WordPress and fill in the required details:
- Website URL: Choose your domain name.
- Admin Username & Password: Create a strong, unique username and password for your WordPress admin account. Don't use common ones like "admin."
- Admin Email: Enter an email address you actively use; this is for password resets and WordPress notifications.
- Website Title: You can change this later, but put your store name here.
- Click "Install." Hostinger will handle the rest, setting up WordPress on your server. This process usually takes just a few minutes. Official Hostinger guides confirm this automated installation is secure and efficient.
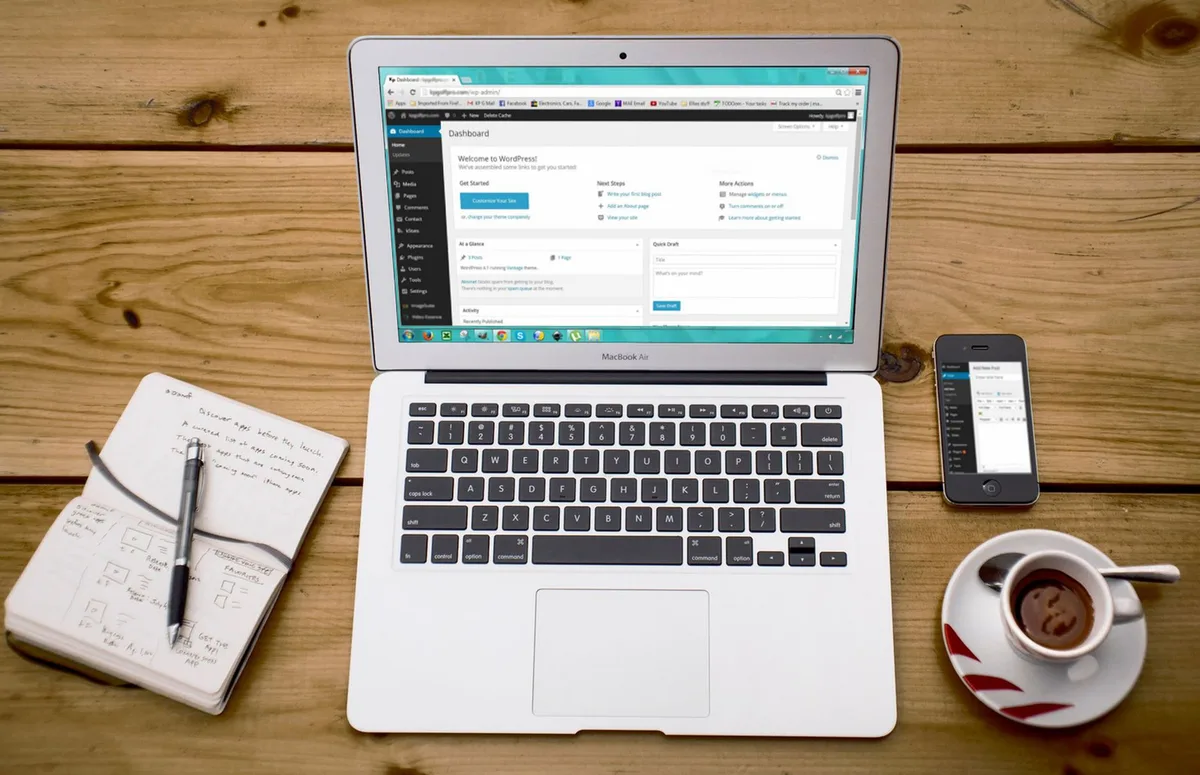
Image source: Pexels / Pixabay (Pexels License)
Step 2: Setting Up WooCommerce – The Core Installation
Once WordPress is installed and running, it’s time to add your e-commerce engine: WooCommerce. This powerful plugin transforms your WordPress site into a fully functional online store. Hostinger’s environment is optimized for WordPress, so the installation should be smooth.
First, access your WordPress dashboard by visiting yourdomain.com/wp-admin and logging in with the credentials you created during the WordPress installation. From the dashboard, you'll navigate to the plugin area.
- In your WordPress admin sidebar, go to Plugins > Add New.
- In the search bar, type "WooCommerce."
- Find the official WooCommerce plugin by Automattic and click "Install Now."
- After installation, click "Activate."
Once activated, WooCommerce will launch its setup wizard. This wizard guides you through essential configurations for your store.
Initial WooCommerce Setup Wizard Walkthrough
The WooCommerce setup wizard aims to get your basic store details ironed out quickly. Don't worry about perfection here; you can adjust most settings later.
- Store Details: Enter your store's physical address, currency, and the types of products you plan to sell (physical, digital, or both).
- Industry: Select the industry your store operates in.
- Product Types: Specify if you'll be selling physical, downloadable, services, or subscriptions.
- Business Details: Answer a few questions about your business size and if you plan to sell elsewhere.
- Theme: You'll be prompted to choose a theme. You can select a free, WooCommerce-compatible theme or skip this for now if you already have one in mind.

Image source: Pixabay / 27707 (Pixabay Content License)
Step 3: Configuring Your Store's Basic Settings
With WooCommerce installed and the wizard complete, you’ll want to fine-tune the fundamental settings. These settings dictate how your store operates, from how products are displayed to how customers are notified. Access these by going to WooCommerce > Settings in your WordPress dashboard.
This section is divided into several tabs.
Setting Up Your Store's Location and Currency
- General Tab: Double-check that your store address, selling locations, shipping locations, and default customer location are correctly set.
- Currency Options: Ensure your store's currency is set to match your primary market. You can also set currency formatting if needed. This ensures accurate pricing for your customers.
Configuring Product Settings and Inventory
- Products Tab: Here you define your shop page, how physical products are measured (weight and dimensions), and options for reviews.
- Inventory Management: You can enable or disable stock management at the store level. If enabled, you can set thresholds for low stock notifications. This helps prevent overselling and keeps you informed about inventory levels. Aggregate user feedback suggests setting these notifications helps avoid customer disappointment.
Setting Up Payment Gateways
This is where you decide how customers will pay you. WooCommerce supports several popular payment gateways out-of-the-box, like direct bank transfer, check payments, and cash on delivery. For modern online payments, you’ll likely want to integrate with services like Stripe or PayPal.
- Go to WooCommerce > Settings > Payments.
- Enable the gateways you wish to use. You may need to install additional plugins for gateways like Stripe or PayPal.
- Follow the setup instructions for each gateway, which usually involves connecting your account with API keys or credentials provided by the payment processor. Always refer to the official documentation for your chosen payment gateway.
Configuring Shipping Options
Shipping can be complex, but WooCommerce offers flexibility. You can set up shipping zones for different regions and define shipping methods within each zone (e.g., flat rate, free shipping, local pickup).
- Go to WooCommerce > Settings > Shipping.
- Click "Add shipping zone."
- Define the zone's name (e.g., "United States," "Europe") and the regions it covers.
- Under the zone, click "Add shipping method" and choose from options like Flat Rate, Free Shipping, or Local Pickup. Configure the costs and conditions for each.
Understanding WooCommerce Emails
WooCommerce sends automated emails to you and your customers about various order statuses (new order, processing, completed, etc.).
- Go to WooCommerce > Settings > Emails.
- Review the default email templates. You can customize the sender name, sender address, and colors.
- Each email template can be edited to refine the content and branding for your store. Personalized emails build customer loyalty.
Step 4: Designing Your Online Store with a Theme
Your website's theme dictates its visual appearance and user experience. For a WooCommerce store, selecting a theme that's both attractive and optimized for e-commerce is crucial. Hostinger’s Premium plan supports a wide range of WordPress themes, but some are better suited for online shops than others.
Look for themes designed with WooCommerce compatibility in mind. These themes often feature built-in styling for product pages, shop layouts, and checkout processes, reducing the need for extensive customization. You can find free themes directly through the WordPress dashboard or explore premium options from various developers.
- In your WordPress dashboard, go to Appearance > Themes.
- Click "Add New."
- Browse themes or use the "Feature Filter" to select "E-commerce" and "Gutenberg Compatible" (if you plan to use the block editor).
- Preview themes you like and click "Install," then "Activate."
Image source: Pixabay / viarami (Pixabay Content License)
Many popular free themes like Astra, OceanWP, and Neve are excellent choices because they are lightweight and highly customizable. For more advanced features, themes like Storefront (by WooCommerce developers) offer enhanced functionalities designed specifically for e-commerce.
Step 5: Adding Your First Products to the Store
Now for the exciting part: listing your products! WooCommerce makes it relatively straightforward to add items for sale. You'll find this under Products > Add New in your WordPress admin.
When adding a product, you'll encounter several key fields:
- Product Name: The title of your product.
- Product Description: A detailed explanation of the product. Use this section to highlight features, benefits, and specifications. You can use rich text formatting, add images, and even videos here.
- Product Data: This is the most important section for e-commerce. Here you'll define:
- Product Type: Choose between a "Simple product" (a single, straightforward item), a "Grouped product" (a collection of related simple products), a "External/Affiliate product" (linking to a product on another site), or a "Variable product" (an item with options like size, color, or material).
- General Tab: For simple products, you'll set the regular price and optionally a sale price and duration.
- Inventory Tab: Manage stock quantities, SKU (Stock Keeping Unit), and whether to allow backorders.
- Shipping Tab: Enter product weight and dimensions, which are crucial for calculating shipping costs.
- Attributes Tab: For variable products, you create attributes (e.g., Color, Size) and then use them to generate product variations.
- Advanced Tab: Add purchase notes, set menu order, and enable/disable reviews.
- Product Short Description: A brief, punchy description that often appears near the "Add to Cart" button.
- Product Categories & Tags: Organize your products for easier navigation.
- Product Image: This is the main image displayed on the shop and product pages.
- Product Gallery: Add additional images to showcase your product from different angles.

Image source: Pixabay / Tuan86 (Pixabay Content License)
Try creating a simple product first to get a feel for the interface. Once you're comfortable, you can experiment with variable products, which offer more complexity but are essential for selling items with variations.
Step 6: Essential WooCommerce Plugins to Consider
Beyond the core WooCommerce functionality, a few key plugins can significantly enhance your store's performance, security, and customer experience. Hostinger’s Premium plan has ample resources to support multiple plugins without slowing down your site. Choosing the right ones helps you automate tasks and offer better services.
- SEO Plugin (e.g., Yoast SEO or Rank Math): These plugins help your product pages rank higher in search engine results. They provide tools for optimizing titles, meta descriptions, and content, which is vital for driving organic traffic.
- Security Plugin (e.g., Wordfence Security or Sucuri Security): Protecting your store from malware and cyber threats is non-negotiable. A good security plugin offers firewalls, malware scanning, and login protection, safeguarding your customer data.
- Caching Plugin (e.g., LiteSpeed Cache or WP Super Cache): To ensure your site loads quickly, especially with many product images, a caching plugin is essential. LiteSpeed Cache is often recommended for Hostinger environments as it integrates well with their server technology.
- Backup Plugin (e.g., UpdraftPlus): Regularly backing up your store is critical in case of data loss or a website crash. A reliable backup plugin automates this process, storing copies of your site off-server.
Common Hurdles and How to Overcome Them
Even with a straightforward setup process, you might encounter a few snags. Understanding these common issues and their solutions can save you a lot of time and frustration. Hostinger’s support team is also available if you need further assistance.
Troubleshooting Installation Glitches
If WordPress or WooCommerce fails to install correctly, first check your server requirements against WordPress and WooCommerce’s minimum specifications. Ensure your PHP version on Hostinger is compatible, typically PHP 7.4 or higher as recommended by developers. Sometimes, clearing your browser cache or using a different browser can resolve odd installation behaviors.
Optimizing for Speed on Hostinger
Slow loading times kill conversions. Since you have 100GB of SSD storage on your Premium plan, speed is largely about efficiency. Optimize all your product images before uploading them, aim for file sizes under 1MB if possible without sacrificing too much quality.
Use a caching plugin and consider a Content Delivery Network (CDN) if you have a global customer base.
Ensuring Your Store is Secure
Security is paramount for any e-commerce business. Always use strong passwords for your WordPress admin, database, and hosting accounts. Keep all your WordPress core, themes, and plugins updated to patch vulnerabilities.
Regularly scan your site with a security plugin and ensure your SSL certificate is active.
Next Steps: Launching and Managing Your Store
Once you’ve configured your settings, added products, and chosen a theme, you're almost ready for launch. Before making your store live to the public, conduct a thorough test run. Place a few test orders using different payment methods to ensure everything works as expected.
Check that order confirmation emails are being sent and received correctly.
After launch, ongoing management is key. Regularly update products, monitor inventory, process orders promptly, and engage with customers through email or social media. Keep your WordPress site, WooCommerce, and all plugins updated.
Expert Tips for a Successful WooCommerce Launch on Hostinger
To make your launch smoother, lean into Hostinger’s resources. Their support documentation is extensive for WordPress and general hosting queries. For WooCommerce-specific questions, the official WooCommerce resources are invaluable.
Always test changes on a staging site if possible before deploying them to your live store. This saves you from potential downtime or errors affecting real customers.